


The process of a dog portrait
I wanted to share the process from start to finish of how I do my portraits as there are many stages which can look odd or do not make sense and I think it is so important to explain each stage for anyone who is scared of having a go.
The equipment matters and you get good results with good quality equipment when working with watercolour. If your one
A3 sheet of paper costs you over £4 that is a good thing. If you have bought a watercolour pad where the whole A3 pad cost you £4 you are not going to produce good work. Similarly with paints try and buy a reputable brand. You do not have to spend a fortune but go for Reeves at the very least.
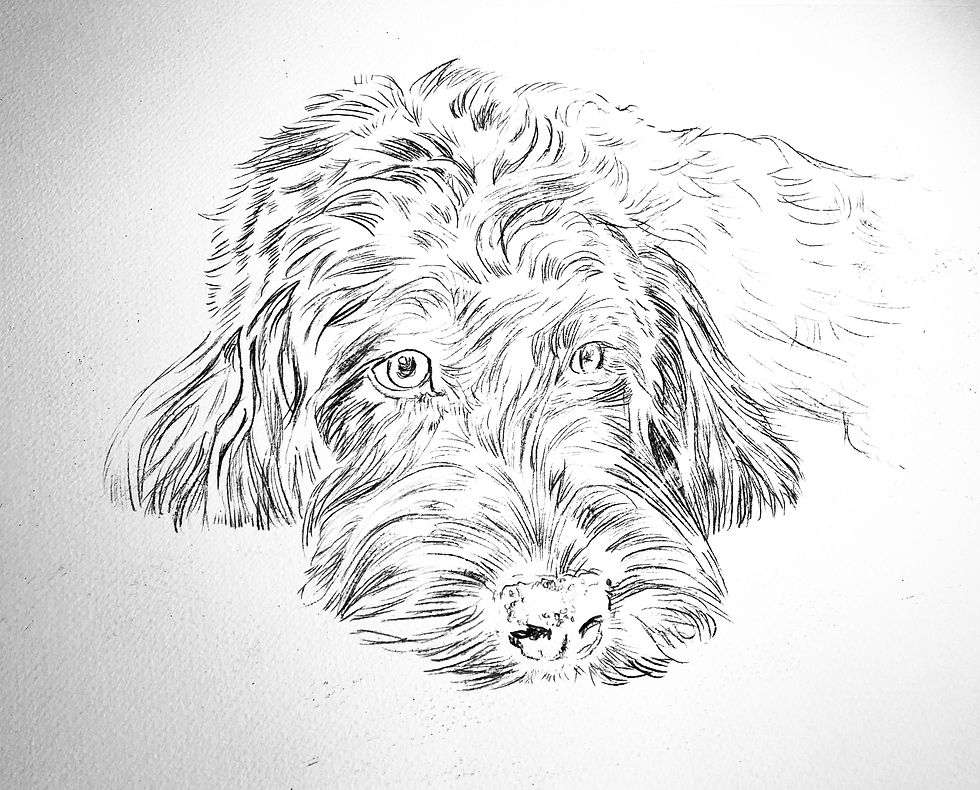
I work on a rough watercolour paper and I do a monoprint with oil based in of the pet. This is the stunning Hugo. I like working in monoprint as it makes me work very freely and sketchily and I found when I used pencil I was just too finickity and lost some of the free drawing feel I like.
I am really working on just finding the movement of the hair and the essential details in the monoprint. I then let that dry.
The next stage is to mix up my colours that I want to use BEFORE I start to wet the paper so I can instantly start making the colours blend as soon as that water soaks in. I wet the areas I want to see colour in and then start adding colours and have to work quite quickly to ensure the colours blend well.
Once that is completely dry then comes the leisurely part of the painting where I put the details in with very fine brushes and mix up loads of different colours which overlap the washes but due to the beautiful translucency of the watercolours they also pick up elements of the underpainting.
And then we are done!


Comments